


Lace front wigs are used a lot in stage, TV and film. The wig has a front edge that is made of a very fine, almost invisible lace which means an exact copy of the artist's hair line can be made whilst giving the illusion that the hair is growing directly from the scalp.
Fitting
The purpose of the fitting is to discuss the initial design and physical appearance of the artist's character and generally develop further ideas for the transformation requirement.
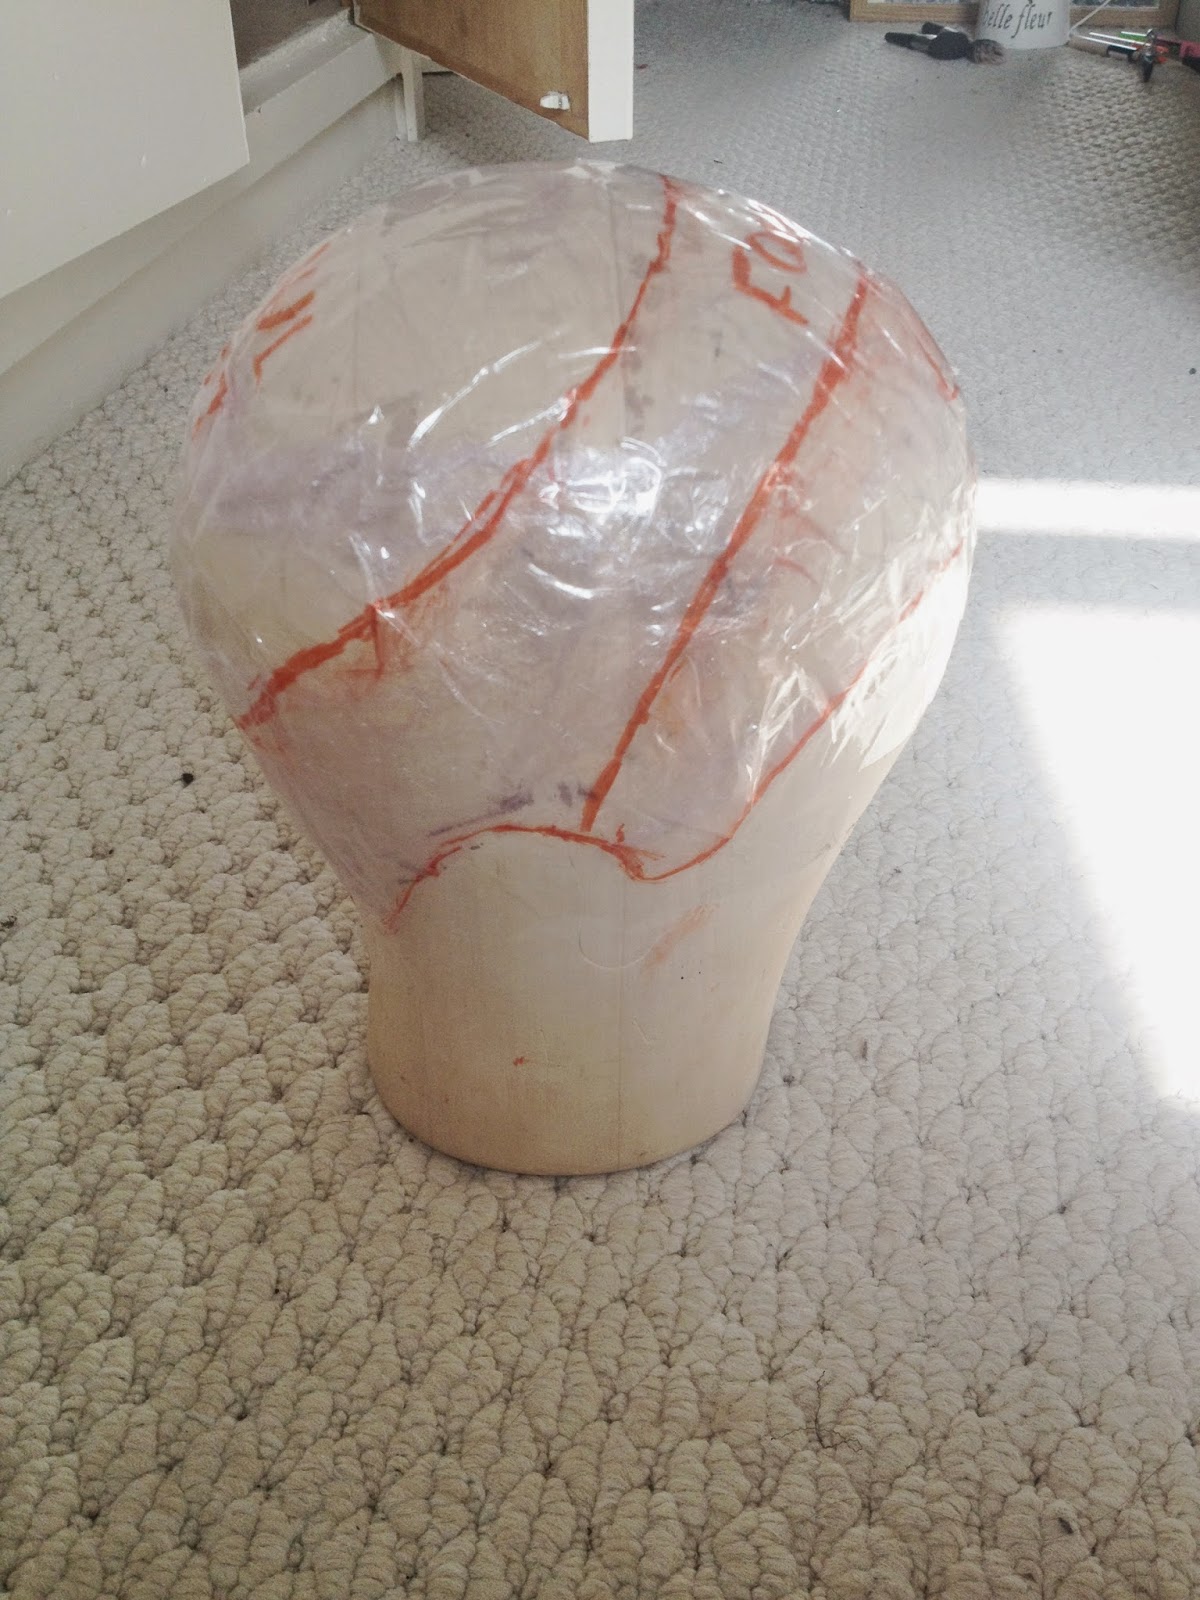
1) Wrap or pull back actors hair completely flat to the head.


2) Wrap the head in cling film leaving excess at sides and back then cover in sellotape.


3) Draw outline of hair line then put another layer of sellotape over lines.
4) Take head measurements to keep as reference whilst making the wig.

Template
1) Choose a block the same of similar size to the head measurements taken, or pad out block with tissue to make the right size.
2) Sellotape the template to the block.
3) Draw on the 3 parts of the wig - foundation line, circle of coul net and lace front then sellotape to seal. Lines should be even and should mirror each other side to side.


Foundation Net
1) The foundation net starts about 2.5 inches from the front of the template.
2) Fold the net in half to find the middle point and place the middle point in the centre of the head - pin in place.
3) Follow the net round the side and pin in place.
4) Put darts in the back side of the net (nearest coul net) where needed to follow the curve of the head. Darts should go in the direction hair would be brushed.

5) At the back tuck one side underneath the other and pin in place.
6) Put two lines of whipping up the back to tie the two sides together about 2cm apart. Cut the excess away.


7) Fold the bottom edge of the wig over twice and whip all the way round to hem the bottom.


Coul Net
1) Put the coul net on vertically so it stretches lenghtways.
2) Find the middle bit of the square and pin this to the middle of the circle.
3) Pin in 4 corners 1.5 cm overlapping the foundation net.
4) Make darts in between each pin again going in the direction of the hair brushing.


Lace Front.
1) Lay the lace flat at the front of the block so it would lie flat on the face without sticking upwards.
2) Pin the lace further back at the sides so to not rip the lace that will be knotted into.
3) Pin at the top with a 1.5cm overlapping the founation net.
4) Make darts where needed, keeping them back from the hairline so they can't be seen.


5) Whip the lace to the founadtion in two lines again.


If the wig needs a parting then an L-shape would come out of the founadtion net and be made in lace front.

Evaluation.
Overall I was very happy with my result of constructing a lace front wig template. I feel I wrapped the hair well considering my model has hip length hair and although it didn't lie completely flat it is close to how the head shape should be. My drawing of the foundation lines could have been better as they are slightly uneven meaning the foundation net is slightly smaller on one side than the other, next time I would use a tape measure to make sure all the lines stay the same distance apart. I was very happy with how the lace and net construction went and think I stayed very neat and even all over. A few of my darts could have been a bit straighter but this may be because tutu net is difficult to make lie flat and this would be different if I was making it out of proper wig net. There is also one side where the hemming is quite small because I didn't quite leave enough foundation net overlapping so next time I would be more conscious of this. Although I will probably not be making a full wig for this project this is a very useful skill to learn and what tat may come in use for another project/ in the future.